Sieg X3 Milling Machine
SIEG Industries X3 Mill / Milling Machine and Drill. The Super X3 will be updated shortly also. This is the same machine sold by Hare and Forbes HAFCO and by grizzly and harbour freight in the USA. My take on it and the experience of purchase.
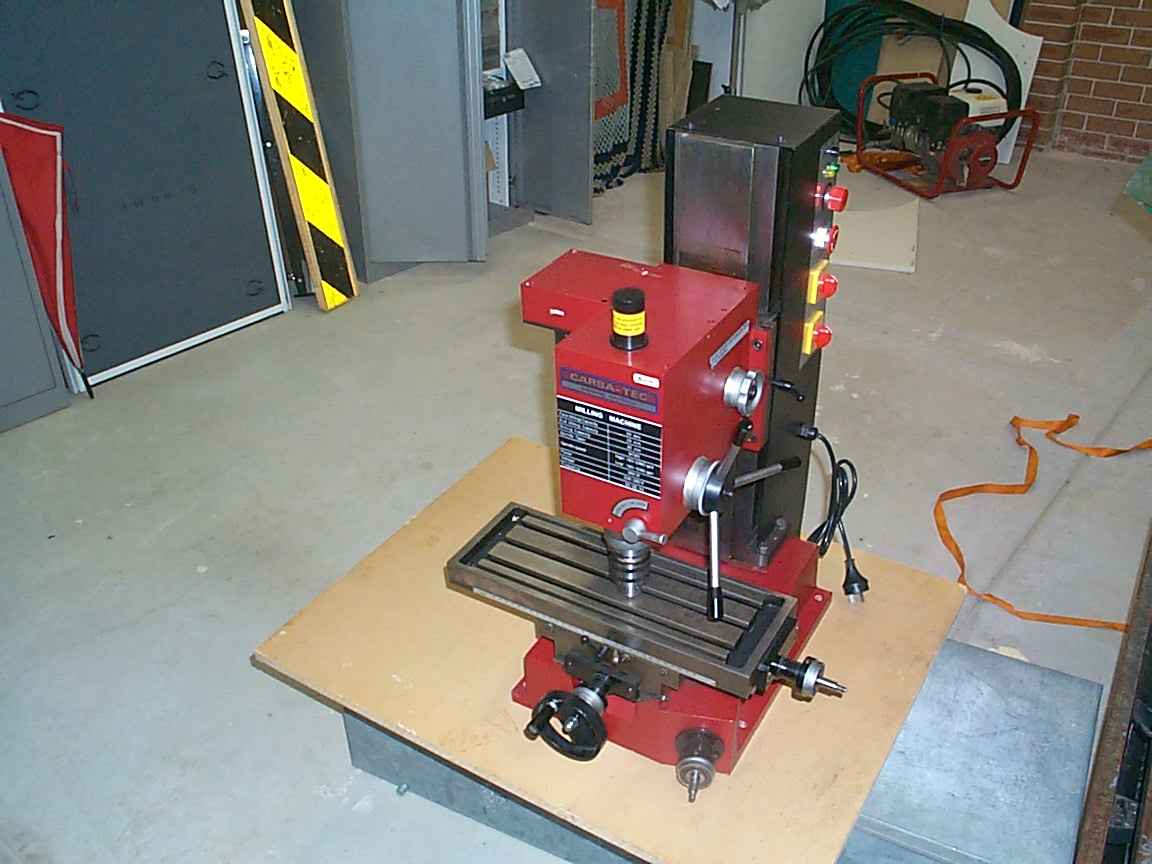
Ths is my Milling Machine. Assembled by Sieg Industrial in China and purchased from , of all places, a woodworking specialty store. Amazing what you can find when you look in all the wrong places. This Mill goes by the name of the X3. This machine is the next step up from the mini mill. The mini mill is called the X2 and is sold by Hare and Forbes in Australia or Harbour Freight / Grizzly in the United States. The Mill is capable of 25mm drilling / end milling or 50mm facing. This is more than enough for most small projects.
|
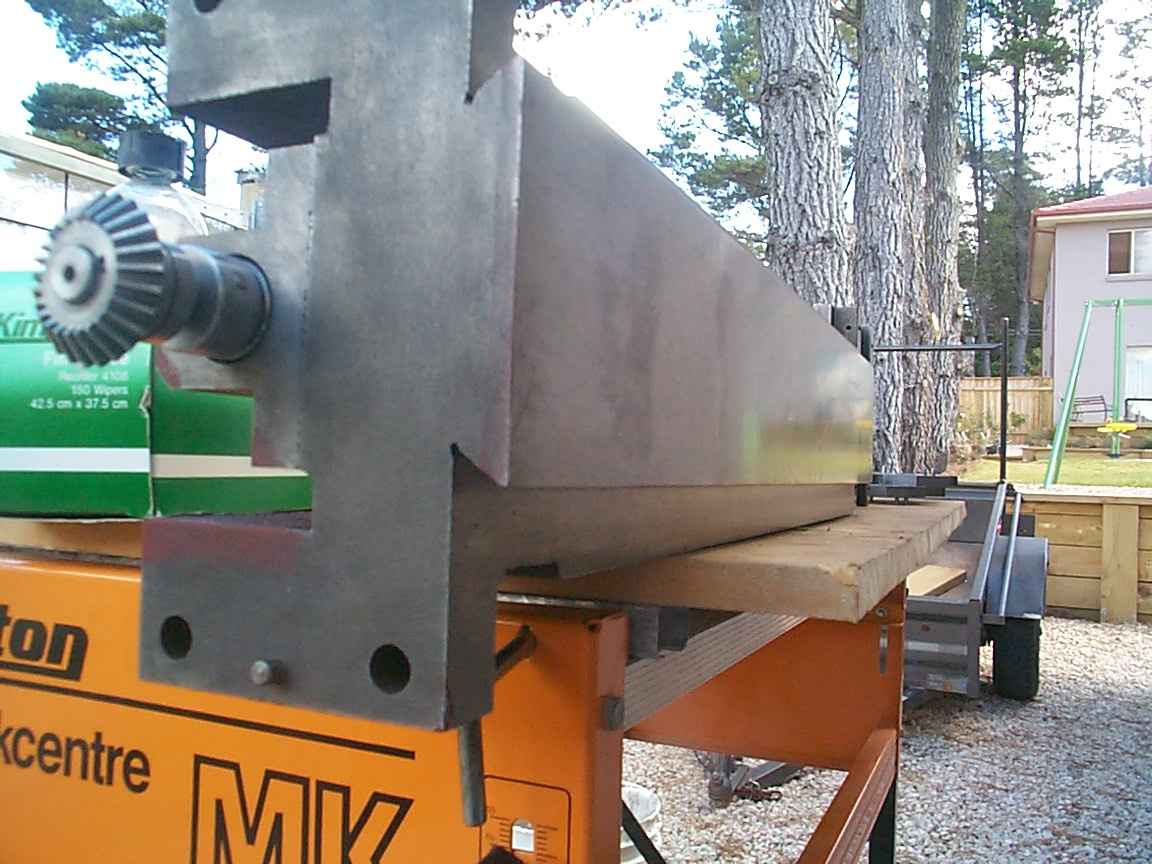
Fresh off the trailer. This was a showroom floor model so it did not come crated. It still has gunk and red grease all over it.
|
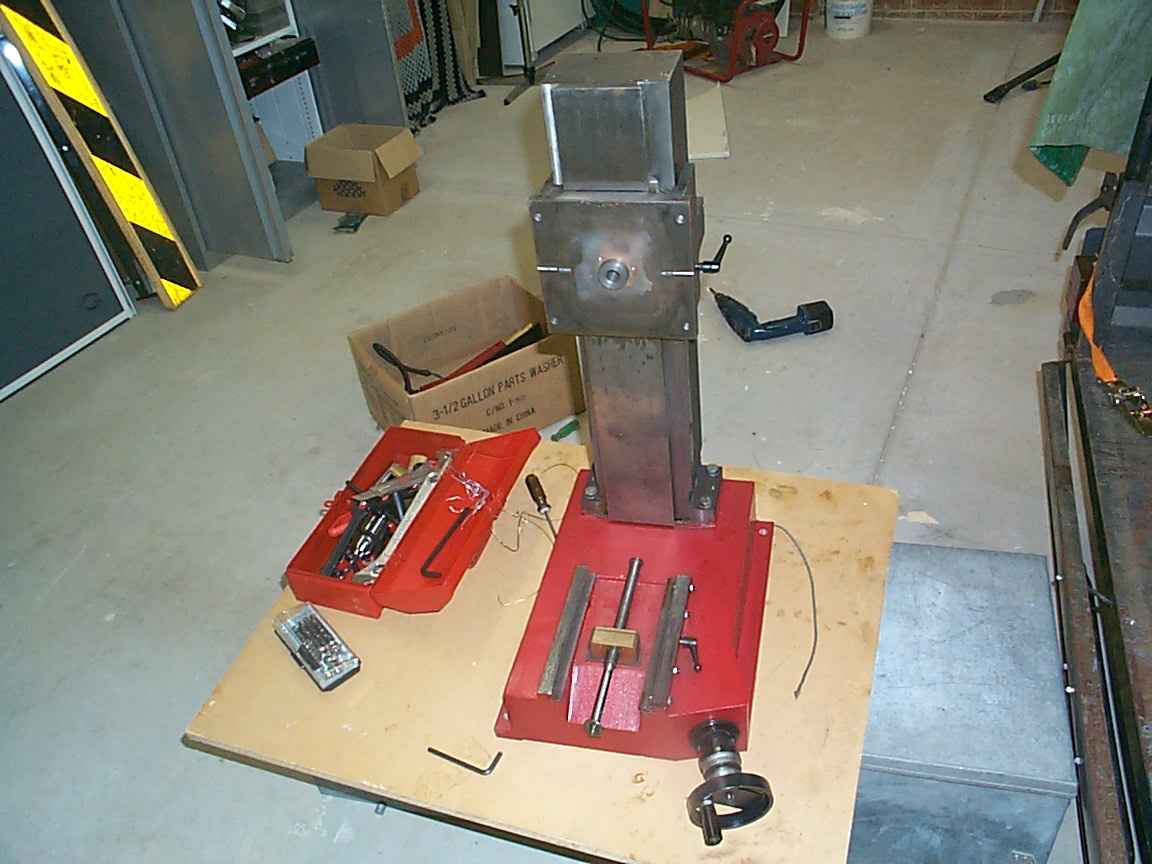
Mostly a naked machine. Only the column and base are intact. At this point I decided to separate the column from the base and clean everything. The possibility of a new paint job is on the books too.
|
|
|
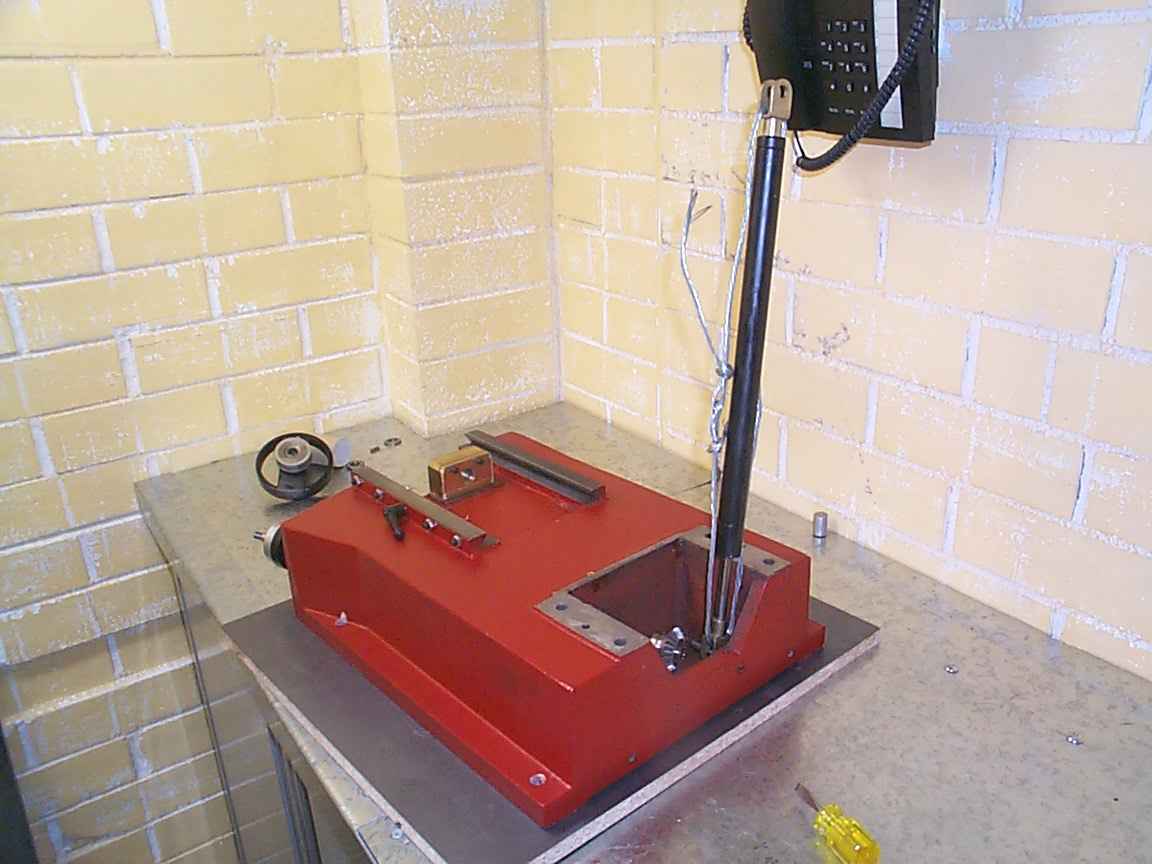
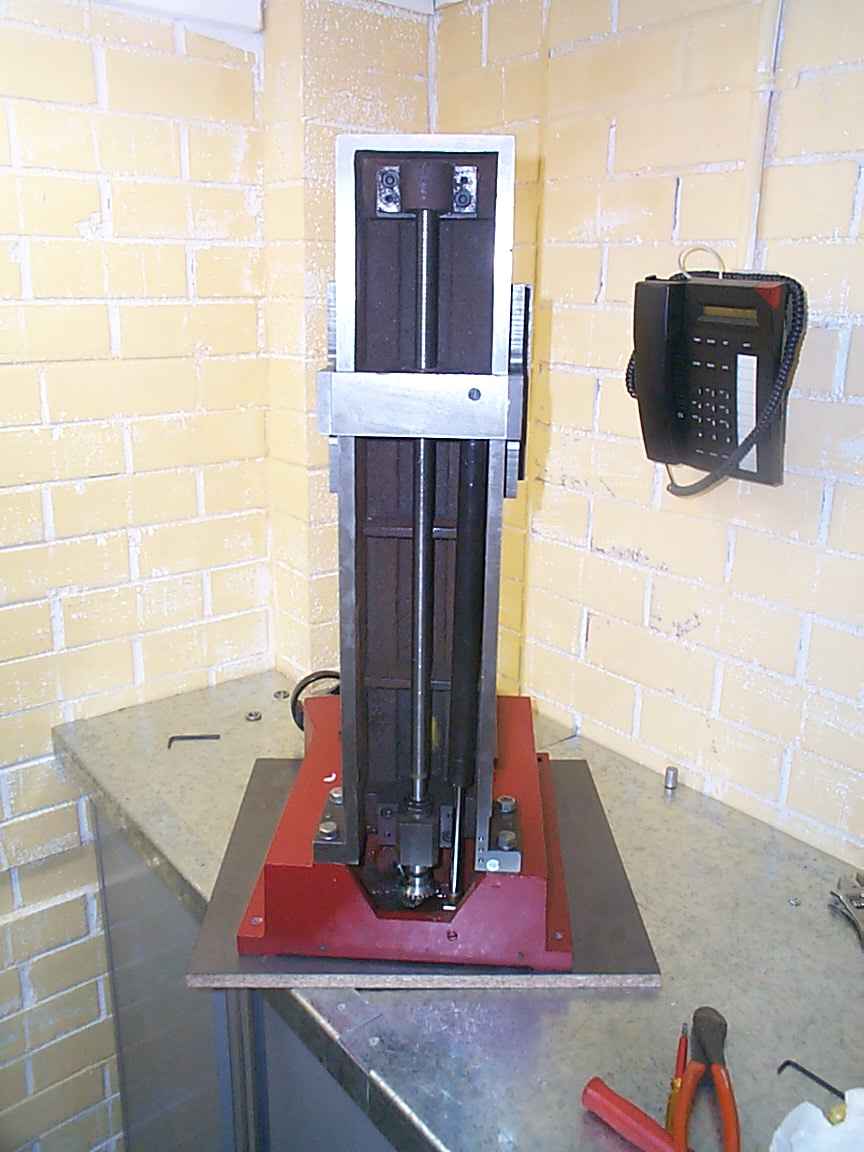
The column has a loaded gas strut. BEWARE! I secured the strut with a piece of fencing wire. There is a screw top and bottom of the gas strut, note the hole in the head screw block. Secure the strut before you release the screw from the strut. The column is then free to remove. Release the four bolts on the bottom.
|
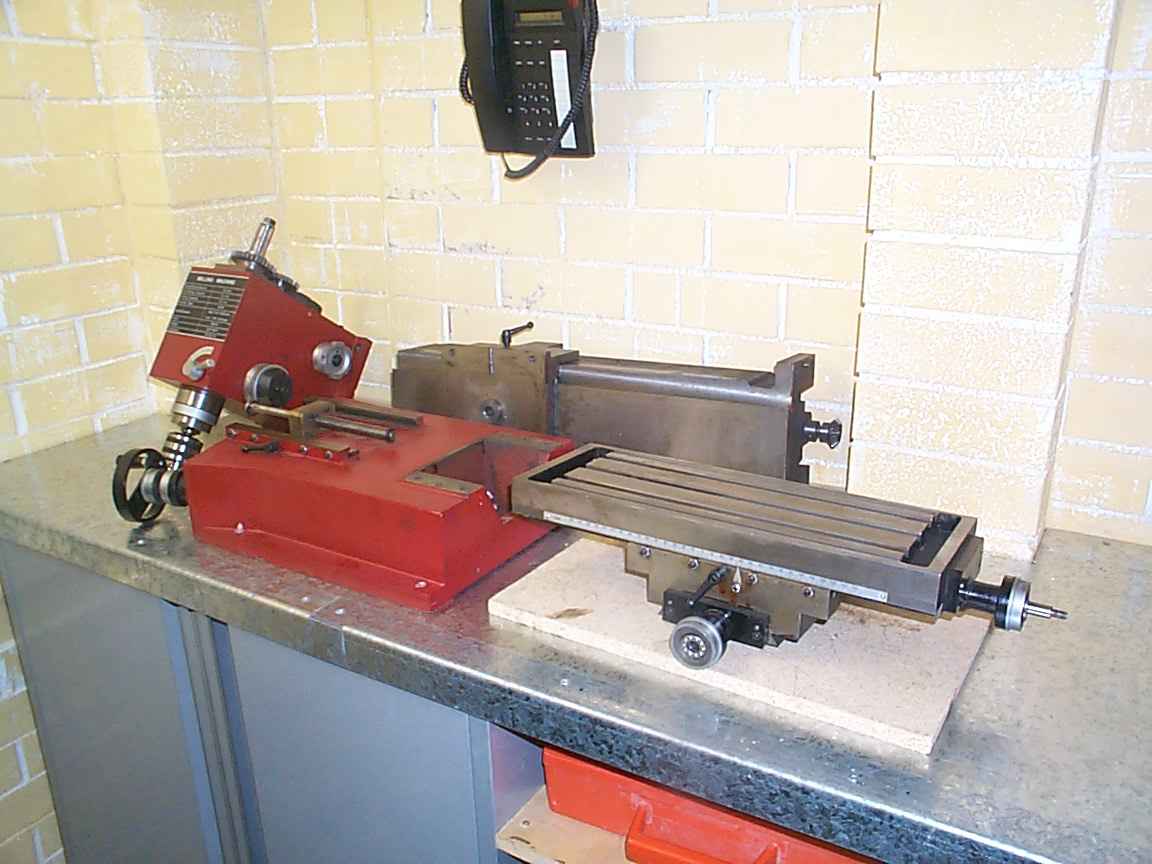
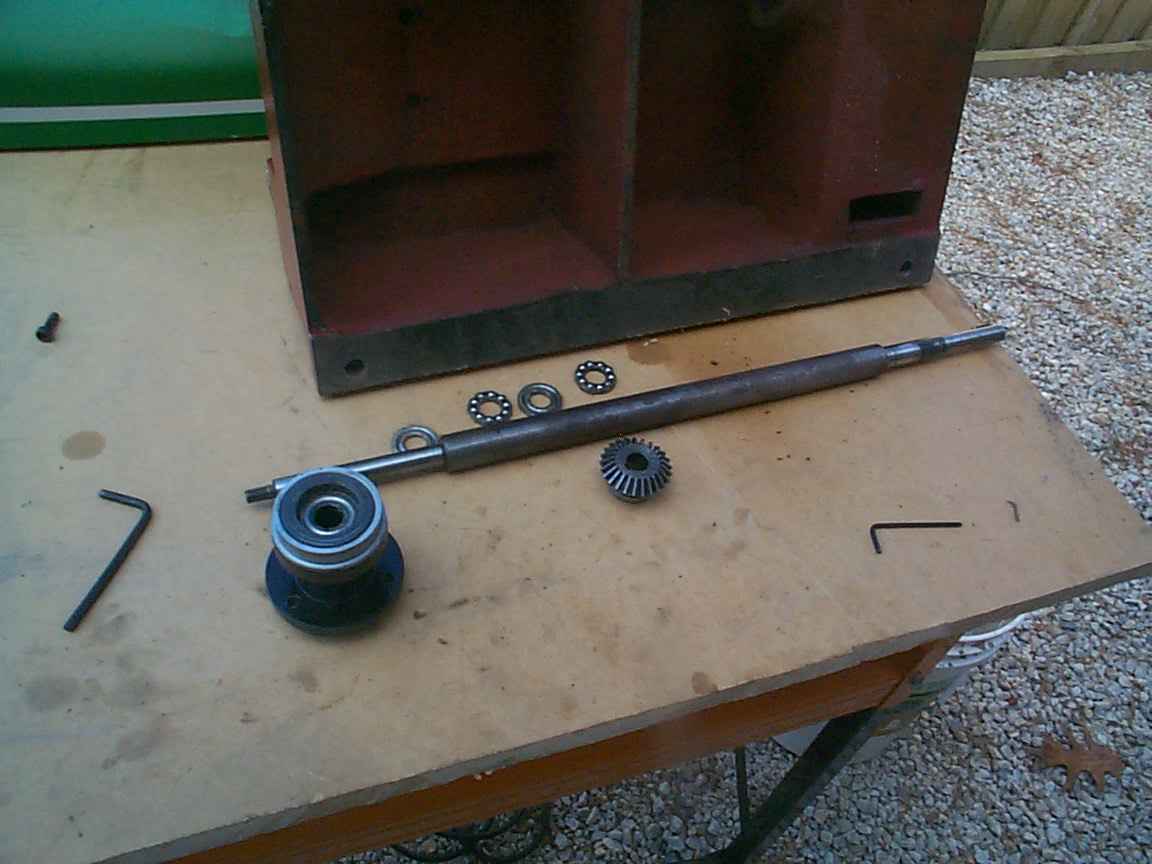
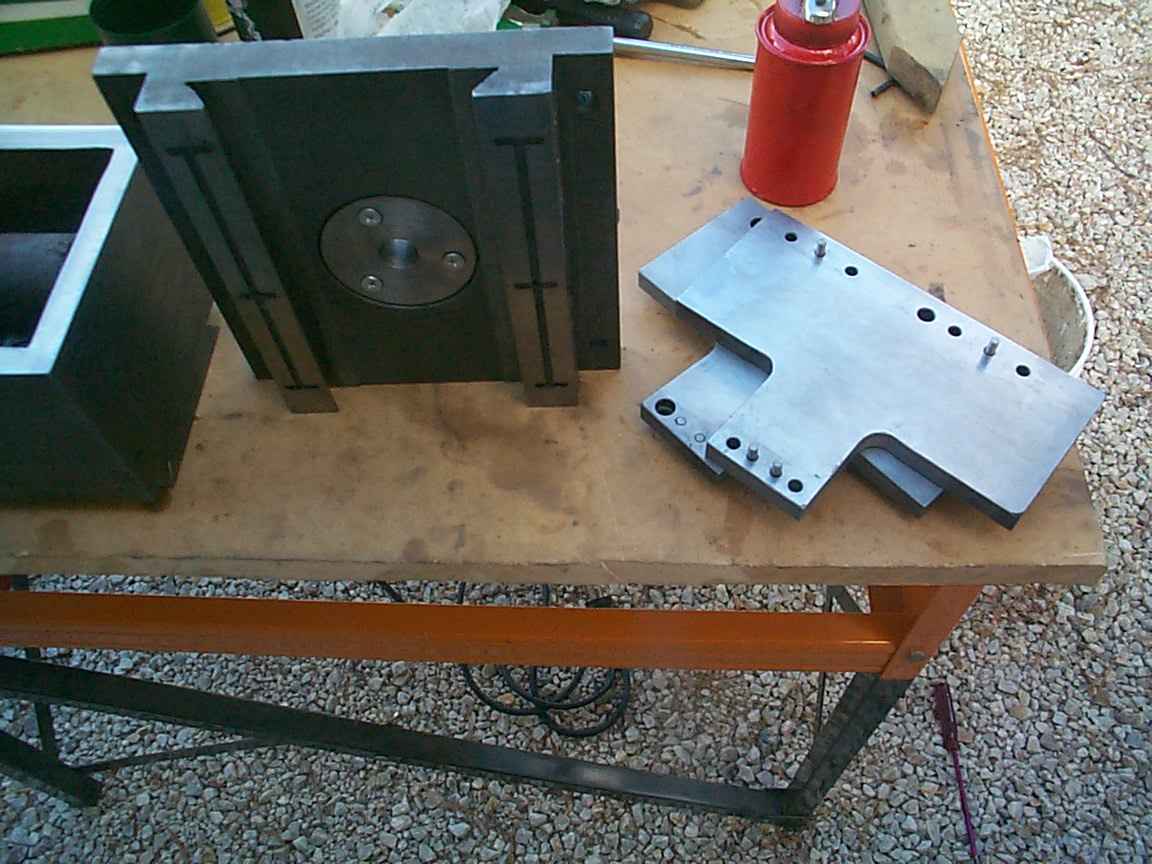
Here are all the main components laid out ready for thorough cleaning, lubrication and assembly
|
|
|
It is important to have plenty of wipes on hand and a can of WD-40. The base is easy to clean.
|
The Z axis was removed as it felt very heavy despite having no load to move. There are bearings in the housing adjacent to the Z axis handle and a brass bush at the other end near the column. The bearings were gunked up with dried grease and the grease in the bush was sicky. Everything was treated to a turpentine bath. |
|
|
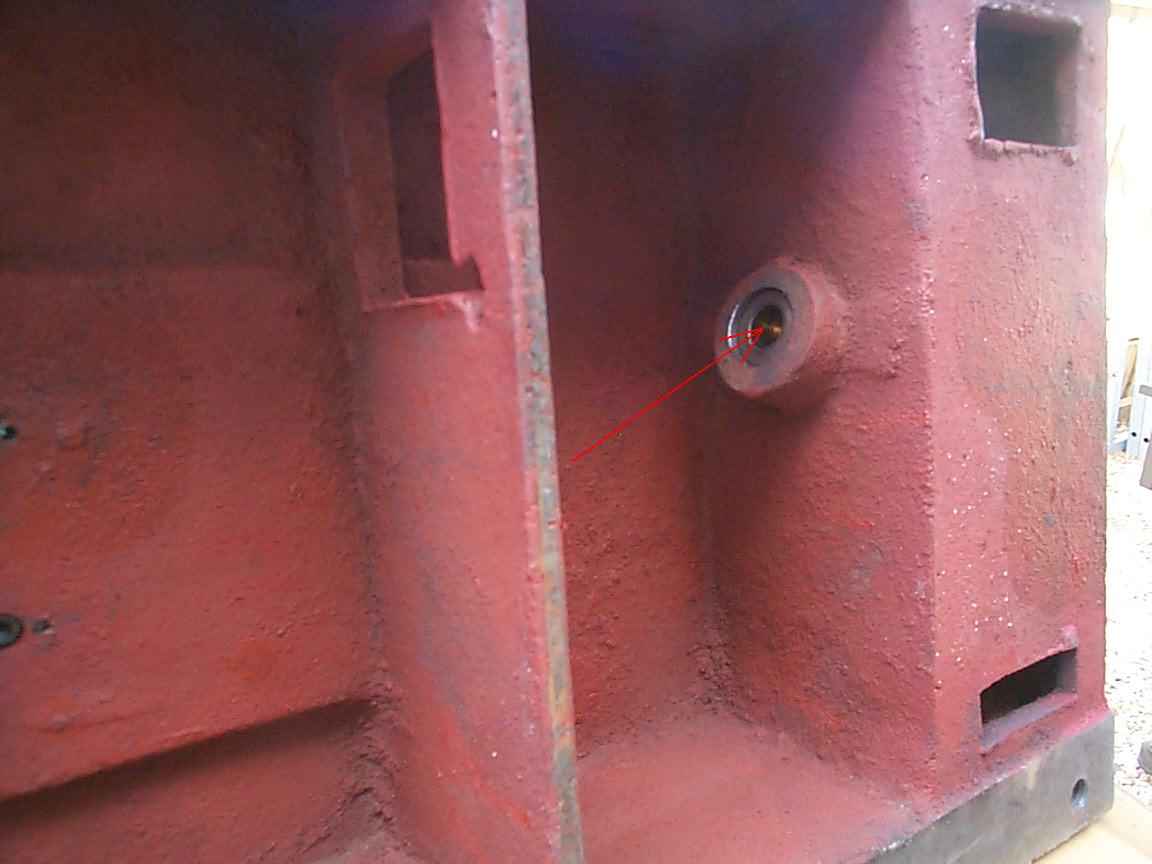
I noticed the Z axis bush near the column had an oil tube installed. I investigated the top side to try and find the oil point.
|
I found out why at first I did not see this oil point. It was covered by paint. I subsequently removed the paint and tested but found it clogged. Compressed air and a fair bit of poking did not resolve the blockage. Looks like this oiler is a dud. |
|
|
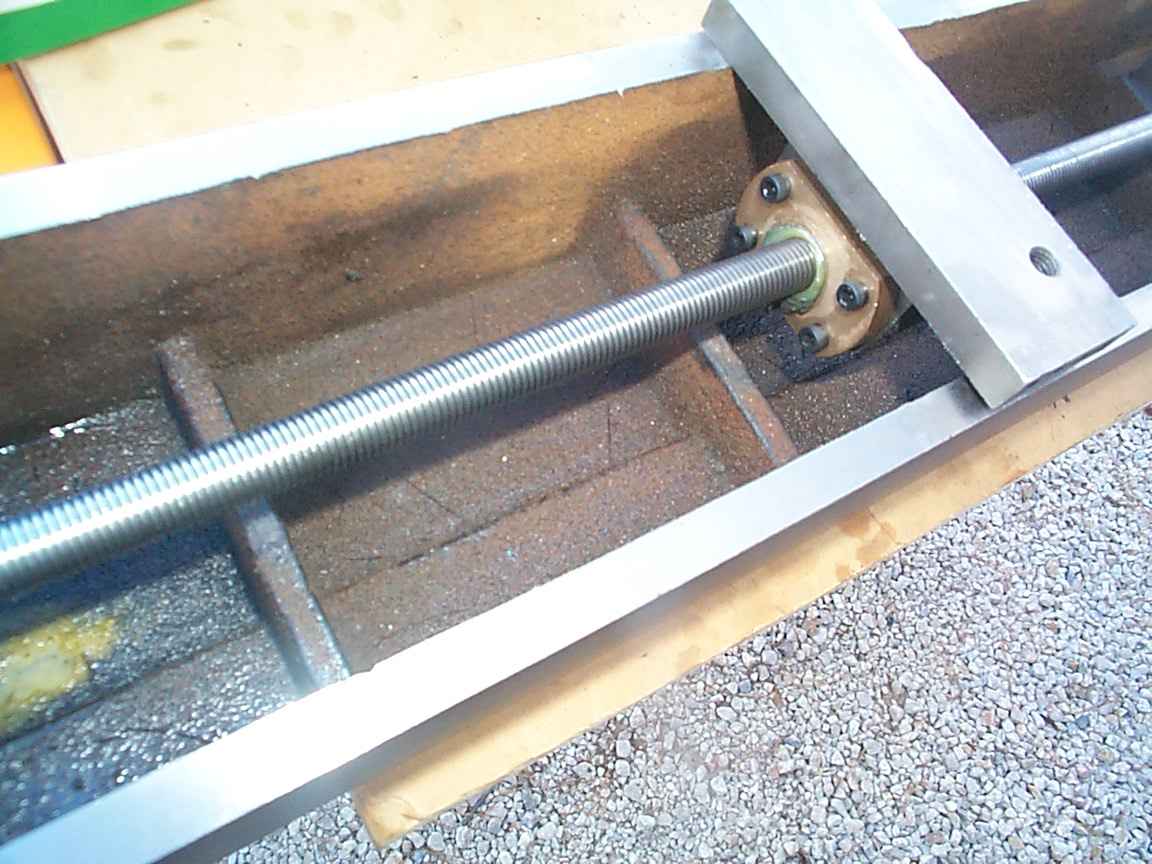
The Z axis screw was cleaned. There was a lot of dried grease in the thread. New grease was applied and the screw was run from end to end. I connected a battery drill for this operation as it would take forever with your fingers.
|
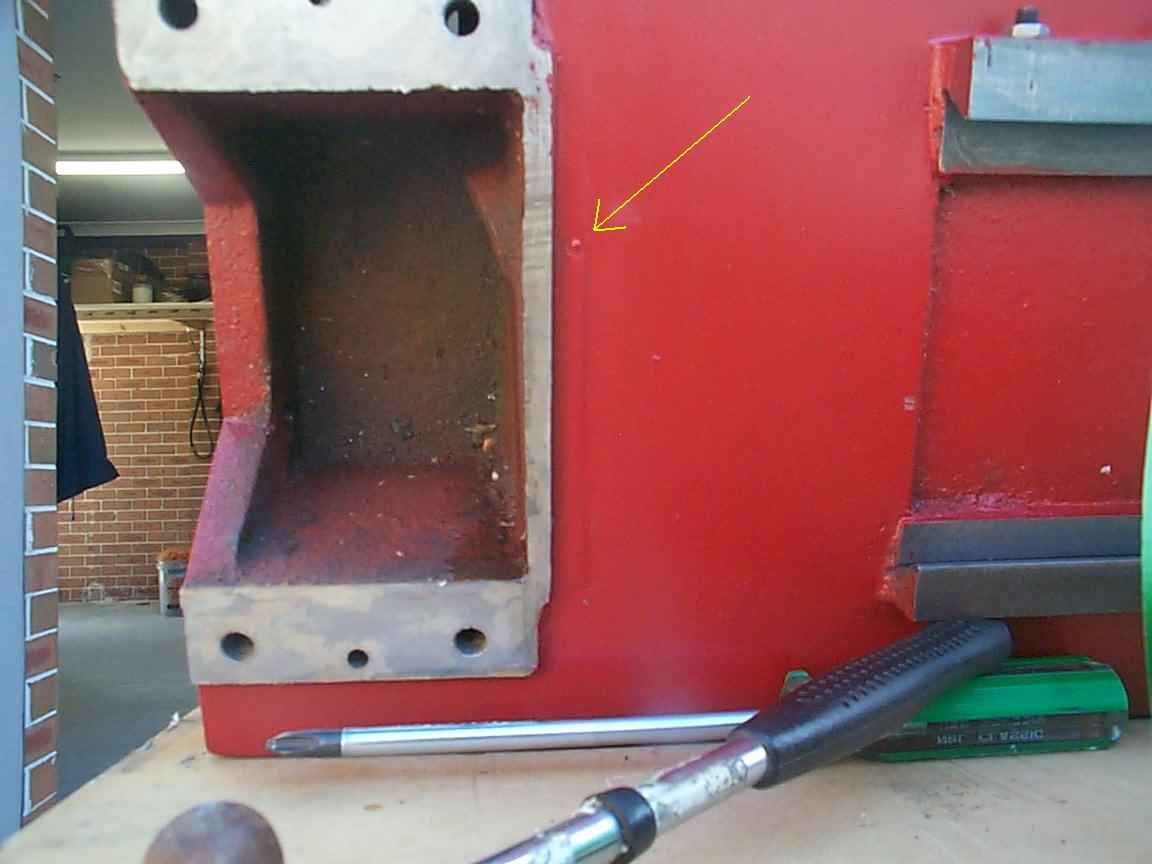
Here is the cleaned up head mounting assembly. This is one rigid mill. The quality of the casting is quite reasonable for a low cost machine.
|
|
|
Here is the cleaned up column. Stamped as number 25……..wonder who has number one?
|
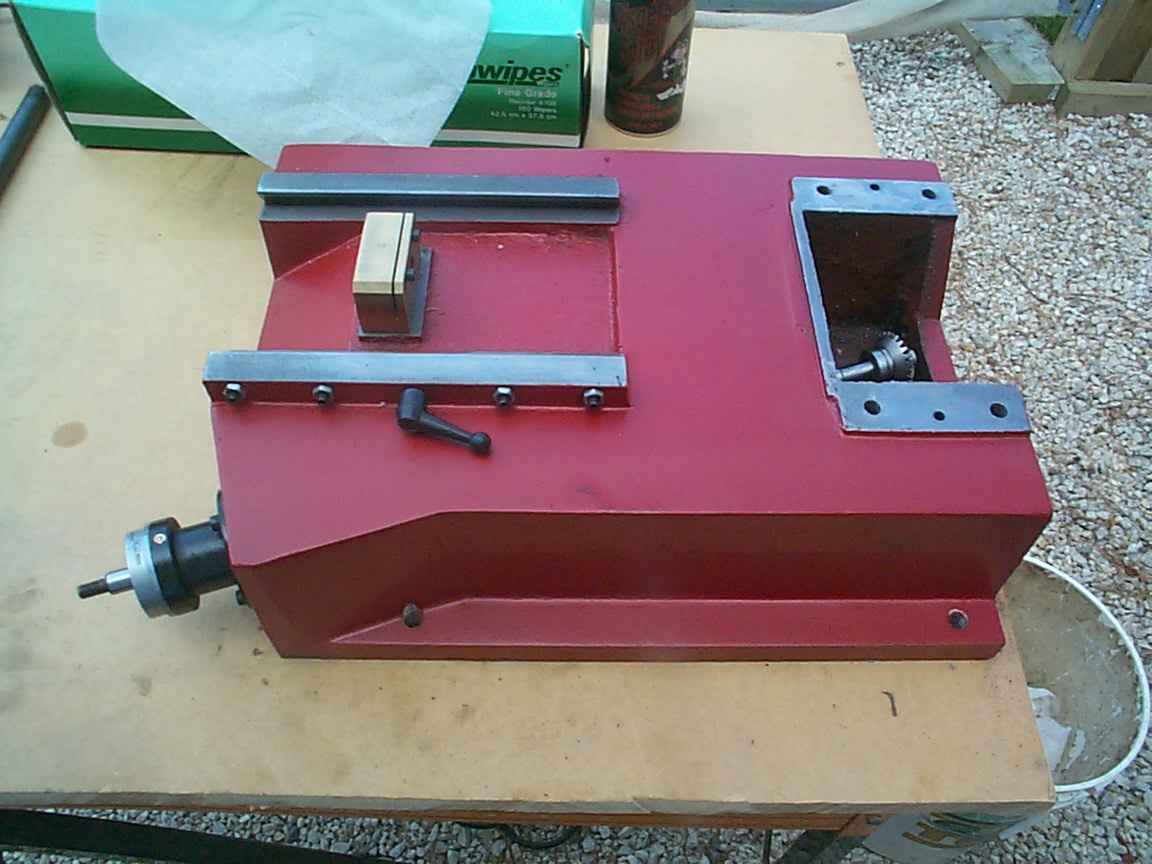
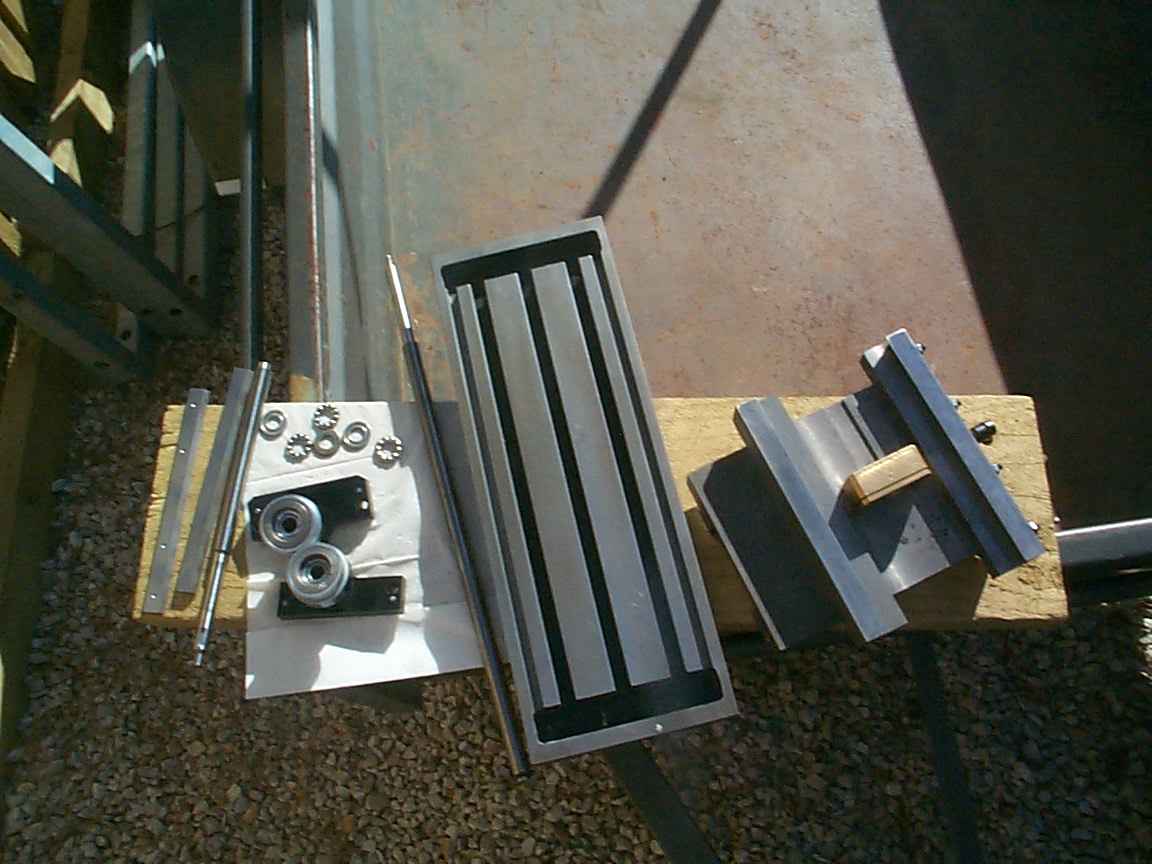
The compound slide took a while to clean. There are plenty of bearings. My only gripe is the quality of the circlips used to secure the stop washers at the end of the XY screws. Cheap Cheap Cheap. Looks like they are made of mild steel not spring steel. Spread them and they permanently deform. |
|
|
Remember the strut? I put it back onto the base before adding the column.
|
The Z axis gear assembly at the base of the column posed an issue during installation of the column. I had to shift the gear on the horizontal shaft back a few millimetres before once again adding the column. At this point I installed the dovetail head slide and thoroughly lubricated all contact surfaces. The top gas strut screw was reinstalled. Pressure was relieved from the strut and the wire cut and removed. |
|
|
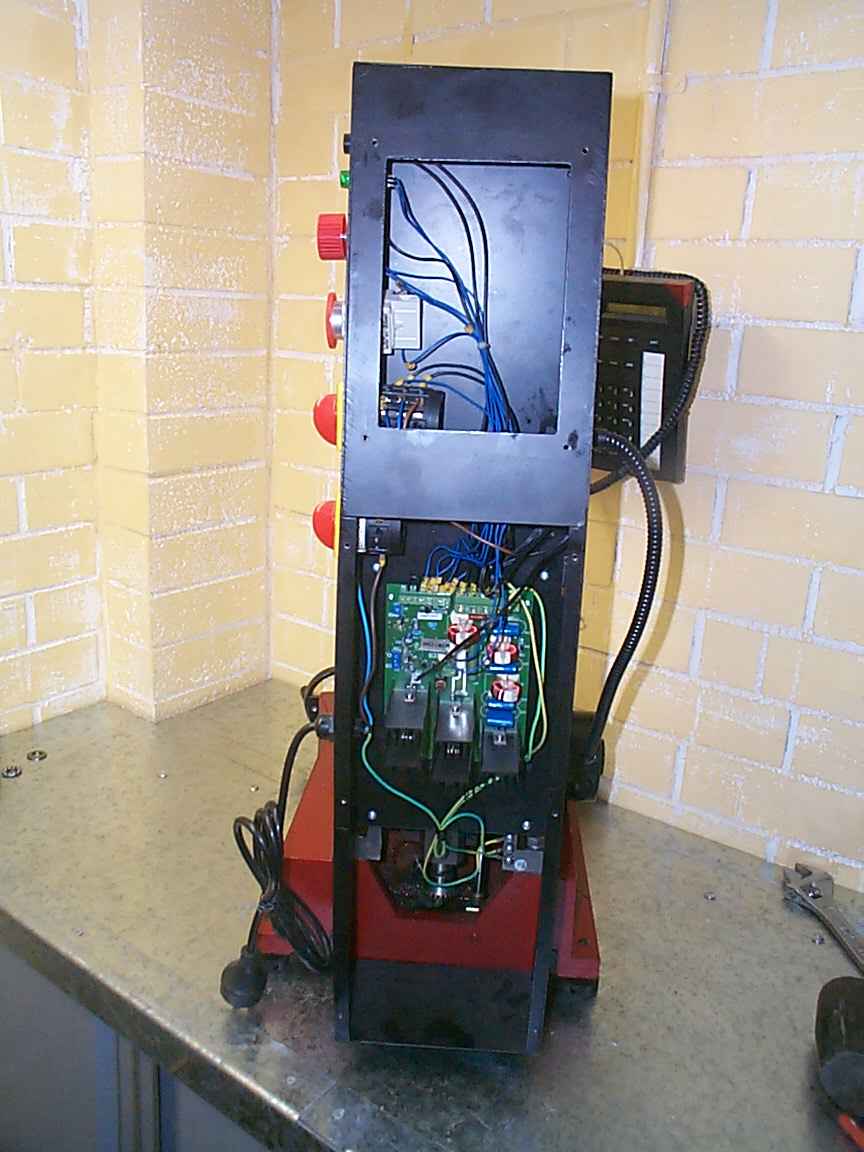
The rear column cover and electronics was added. This is a great setup. Very easy to remove if you need to work on the circuit board. This particular model did not ship with the fan installed so I will add my own at a later time. A fan will be ideal when using the mill at extremely slow speeds under heavy load.
|
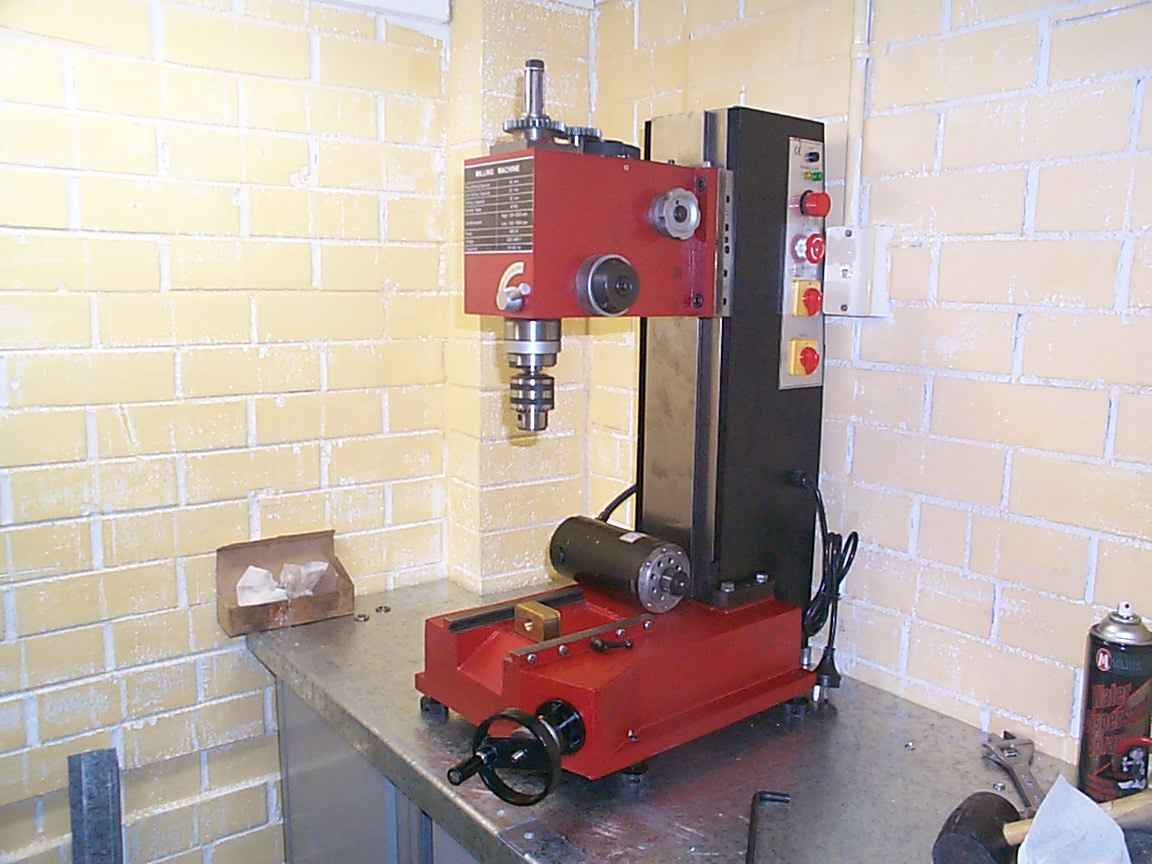
The head was added. Make sure you have a bolt ready. Once the head is positioned onto the round protrusion on the rear mounting plate, it is easy to keep it there with one hand and install one of the top screws. Don’t forget to add the other 3. The motor was added next. |
|
|
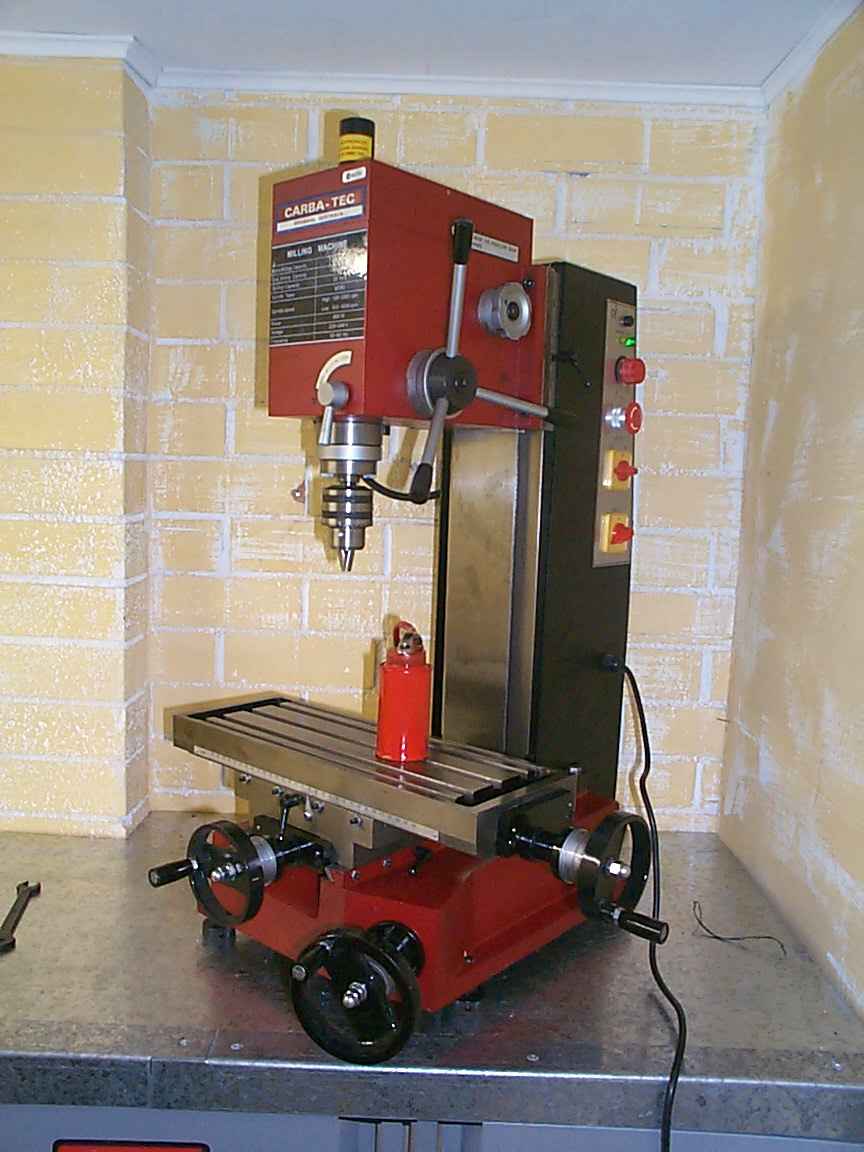
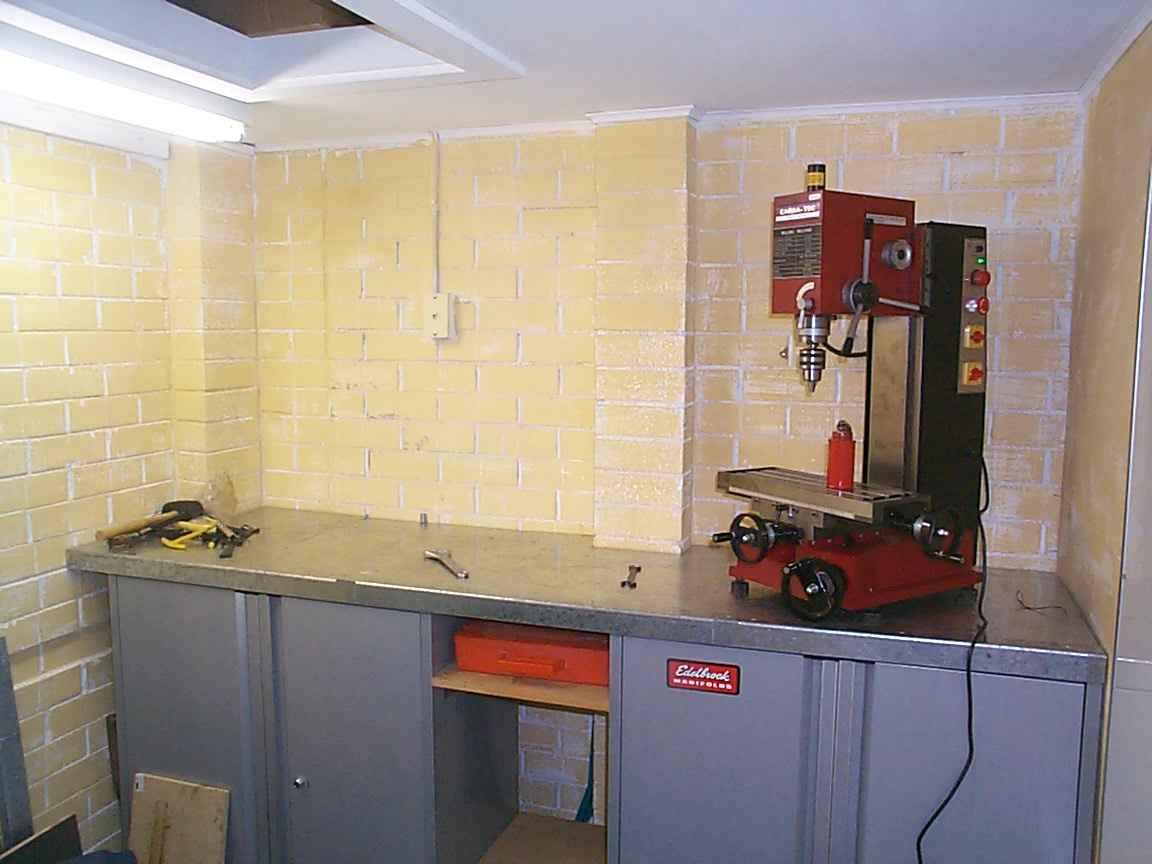
Voila. Clean and mean. After assembly I slid the Mill over to the right hand side of the bench. Keeping the machine at an angle makes it easier to reach the control knobs and increases the overall bench space by using the corner
|
Here is a shot looking into the opening of my workshop. The length of the bench is 2.4 metres. The steel cabinets have 18mm MDF sheet on top covered by galvanised sheet metal. The front edges have been covered with 3mm x 40mm galvanised angle. The cabinets are 1000mm high and 900mm wide. The bench is 625 mm deep. |