September 5th, 2014
admin
There are some things in life that you can get a great a great price on, but it was just wishful thinking buying a cheap compressor for $160 thinking it was going to last.
My little direct drive 2 Hp unit just could not cut it any longer. Every time I required large amounts of air, it would run continuously at a less than satisfactory pressure. My advice is to spend a lot on a decent machine, it will save you money in the long run.
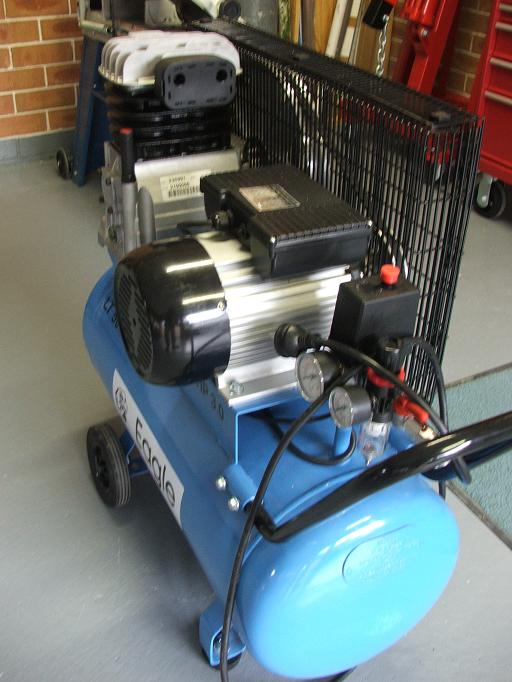
I decided to bite the bullet and dig deep for a reliable and powerfull compressor. I purchased a 3Hp Eagle with a 50 litre tank.
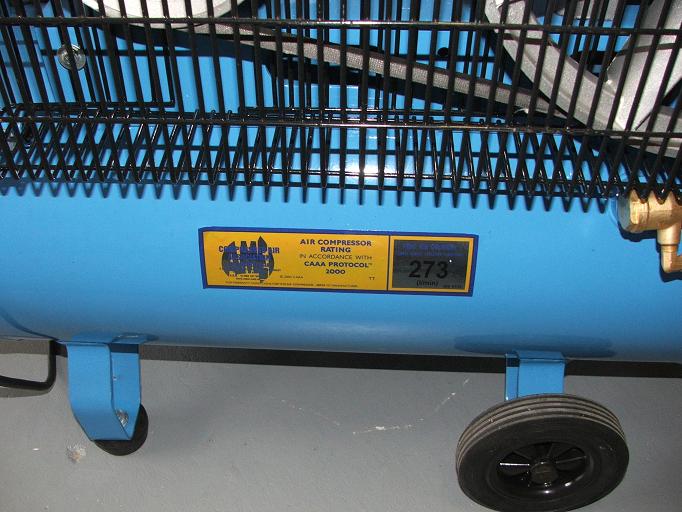
The continuous rated supply ability of this unit is 273 litres per minute at full pressure.
Now I am finally able to run the die grinder, spray gun and plasma cutter not all at once of course.
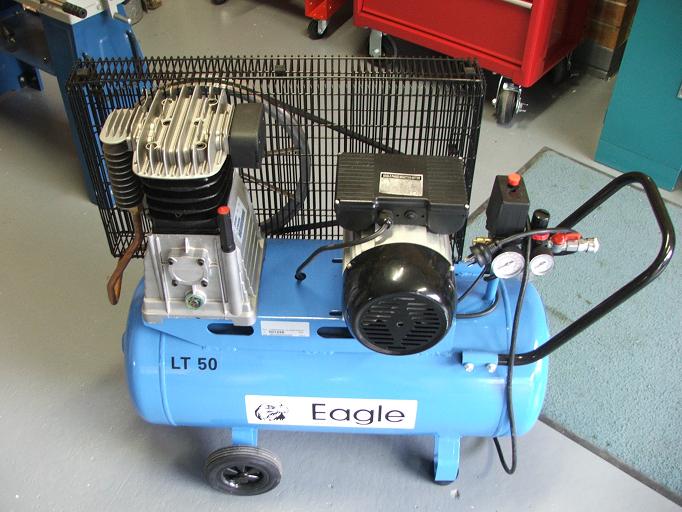
This compressor has an aluminium head, twin pistons in the one housing, 50 lite tank. 3 Hp 2800 RPM single phase motor, a water trap and one outlet. |
|
|
|
Here you can see the twin air inlets on the filter mounted to the head.
|
September 5th, 2014
admin
V Blocks are used to assist in the milling of flat surfaces on circular sections. The round section of stock is placed in the V and the clamp is tightened. You can then clamp the whole lot down.
I have not used these yet.
|
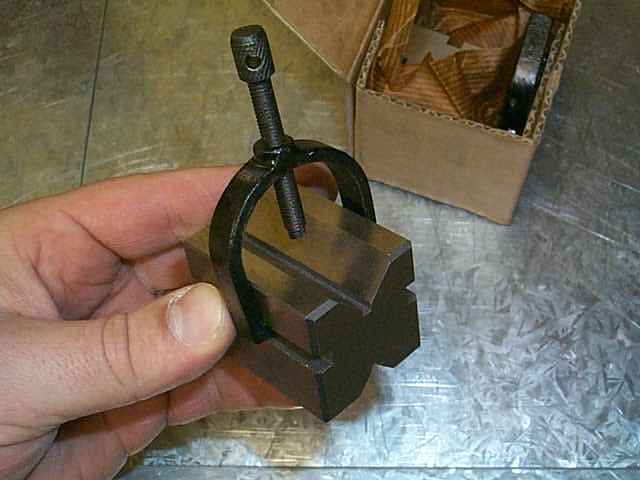
A shot of the V Block. I will add some more pics and details when I use them.
|
|
| |
|
|
|
September 5th, 2014
admin
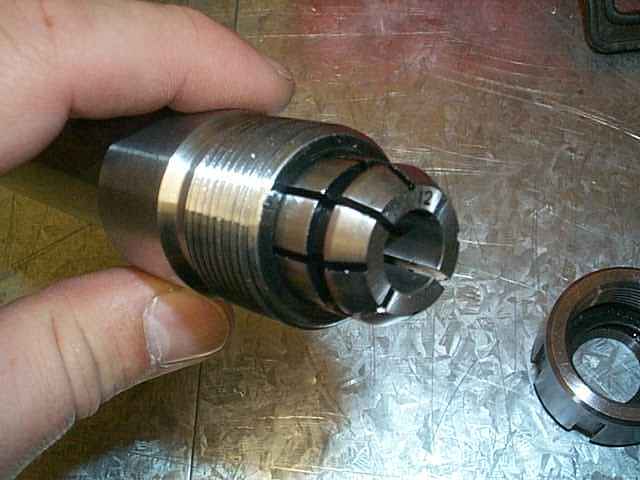
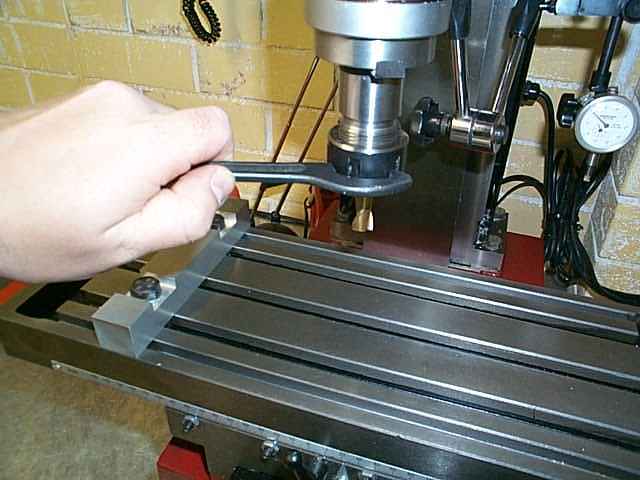
End mills come in all shapes and sizes. There are many different systems for securing end mills but all operate on the same premise, tight hold. My mill has a morse taper of 3 also known as MT3. I decided to purchase a collet set as this was in my case least expensive. You can opt for MT3 collets instead of a collet chuck however the process of changing them is the same as removing / installing the collet chuck. If you need to change collets regularly, a collet chuck is quickest. Why not just use a drill chuck to hold the end mill? This will result in movement of the end mill which will affect the finish of the job. The collet holds everything tight. My collet set goes up to 16mm which does most jobs. For my 20mm end mills, I need to buy a collet that will go into the spindle direct.
|

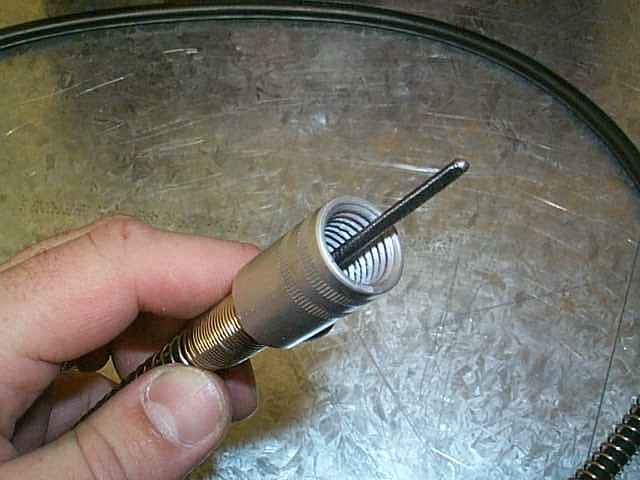
This is my collet set. It contains collets, a collet chuck and a collet chuck key.
|
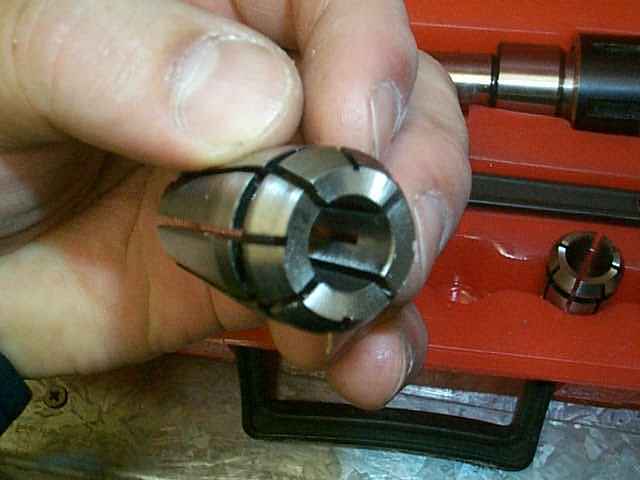
This is a collet.
|
|
The collet is tapered so that when the chuck is tightened, the collet is pushed back into the collet holder causing it to compress. The compression force secures the end mill.
|
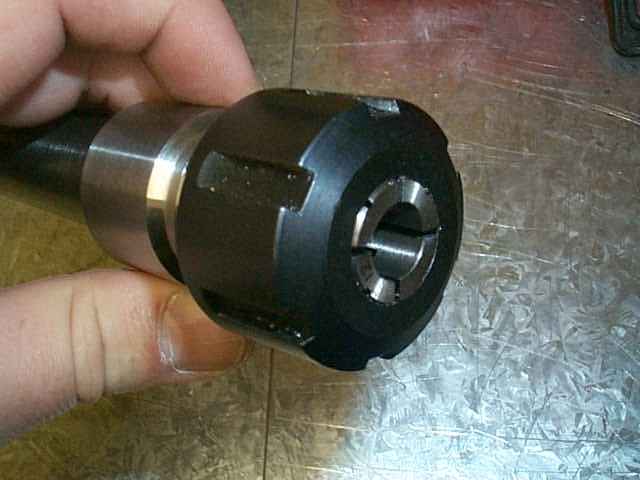
The collet chuck is basically a hollow nut that screws over the collet and onto the collet holder. The nut then pushes the collet back into the hjolder causing it to compress into the direction of it’s axis.
|
|
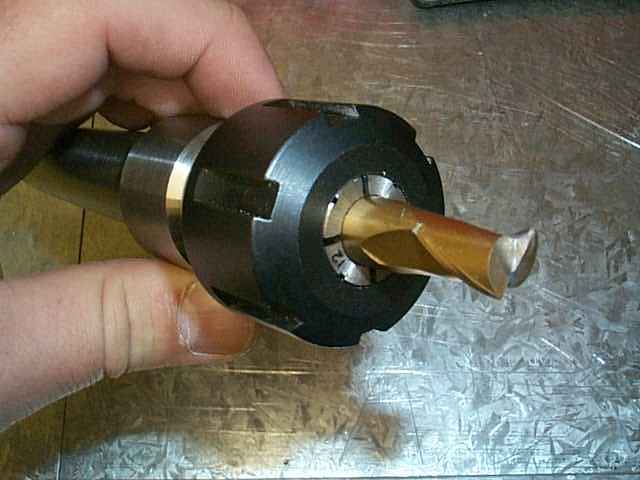
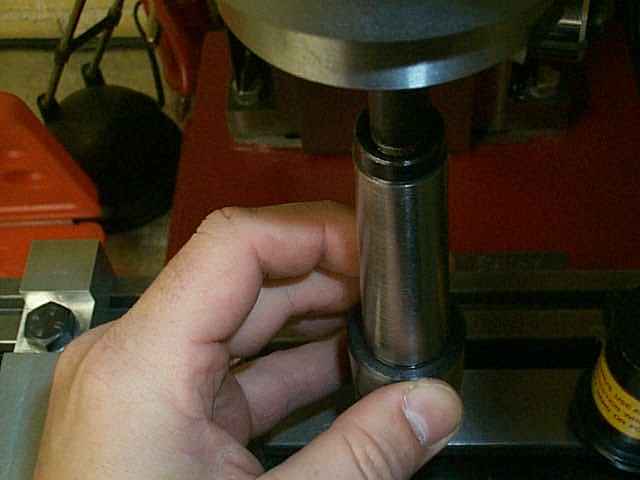
This is what it looks like when you fit a 12mm 2 flute end mill.
|
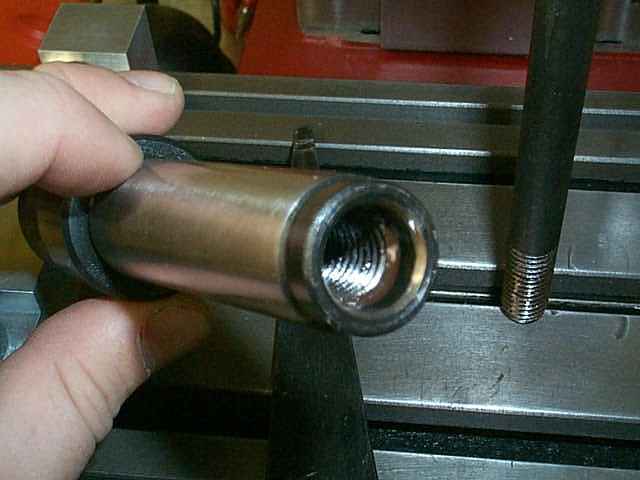
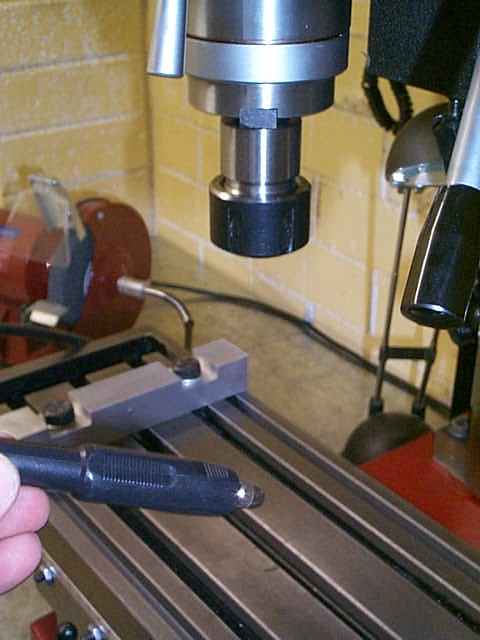
The other end of the collet holder has a threaded hole in it. This threaded hole points upward when the holder is inserted into the milling machine spindle. The drawbar is threaded into the hole.
|
|
Threading the drawbar into the collet chuck before pushing the assembly up into the spindle. The black thing on the right is the cover for the splined shaft in the picture on the right.
|
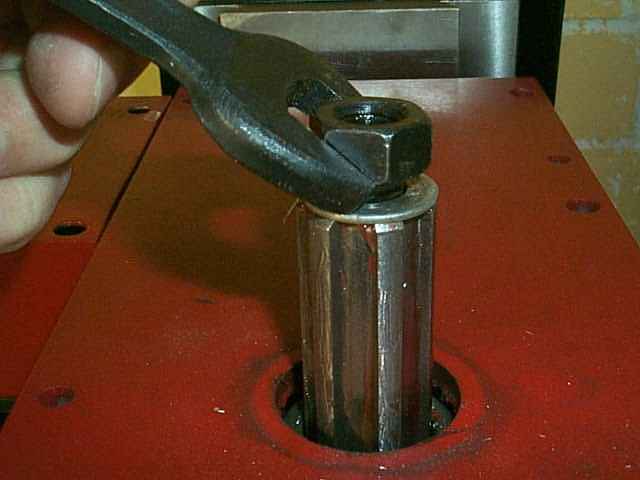
Once the assembly is pushed up into the spindle, the draw bar pockes out of the spindle drive shaft. A washer and nut is fitted and the whole thing tightened. The nut pulls the draw bar up and this brings friction forces against the taper of the spindle. The tighter you tighten the harder it holds. There is no need to tighten too hard anyway as the taper holds well with little force.
|
|
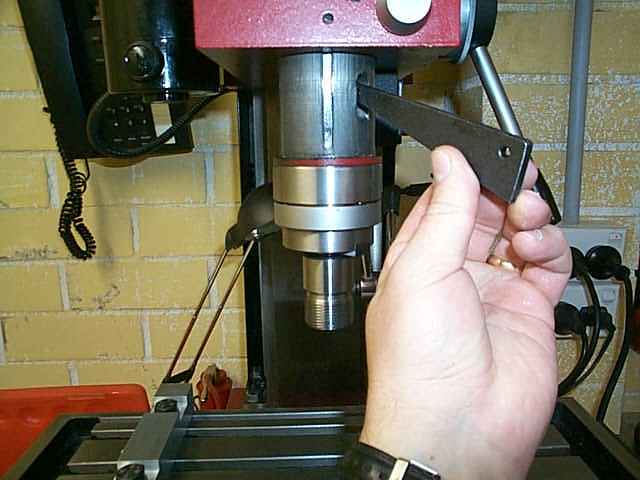
I normally stick this wedge in a hole in the spindle shaft to lock it whilst tightening the nut or the collet chuck.
|
Left or righjt handed. I am a really talented person. LOL.
|
|
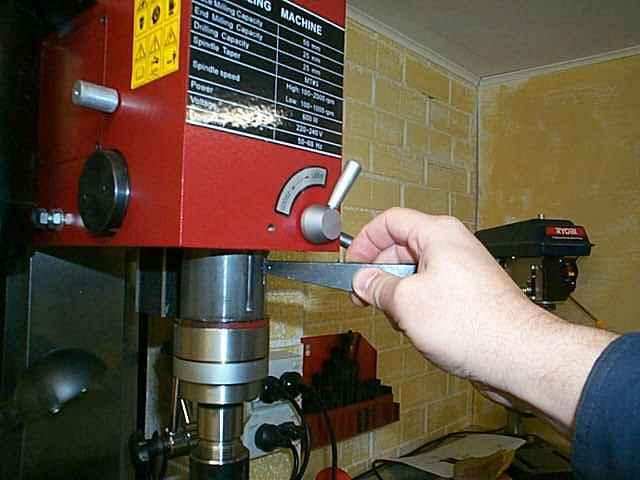
Finally, a tighten of the chuck and your off.
|
|
September 5th, 2014
admin
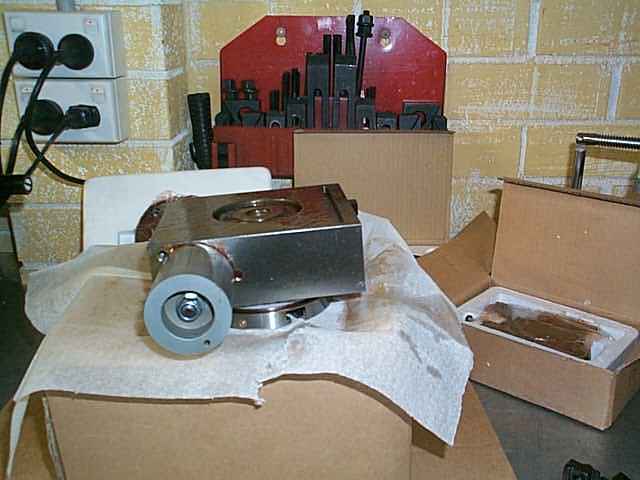
4″ Rotary Table Setup
t has been a long wait of 10 weeks but finally it arrived, by boat. My rotary table with dividing plate and tailstock. The folks over at the Little Machine Shop have a wonderfull range of products, this being one of them. All up it cost me about $370AUD with shipping.
This expose will deal with the unpacking and clean up of the components. I will try and work out how to use it over the coming weeks and add an article to the documentation section
|
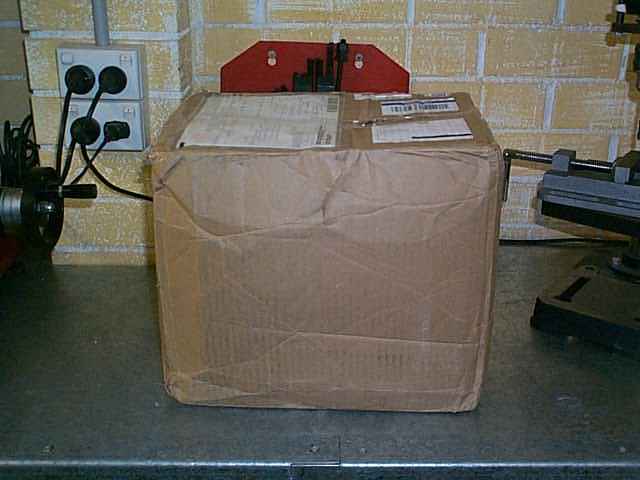
It is finally here, a box from the USA…can it really be the rotary table? I had waited such a long time for this day to finally arrive.
|
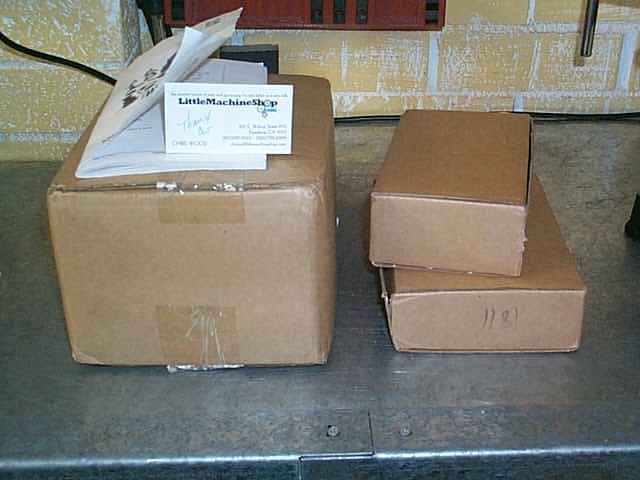
Inside were thre boxes and a heap of statically sensitive foam fill. I used the vacuum cleaner to assist in the unpacking operation.
|
|
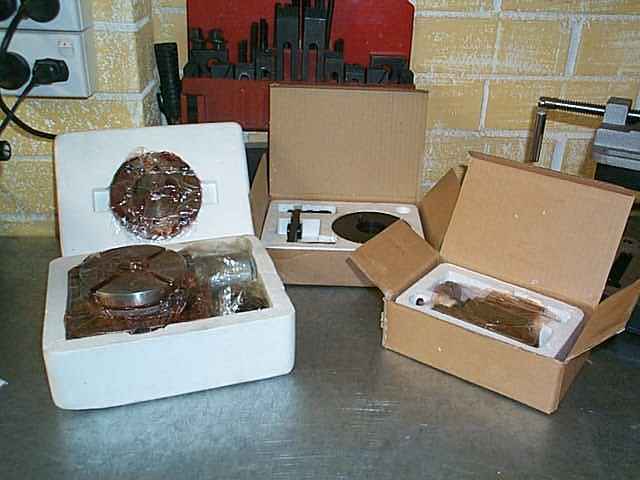
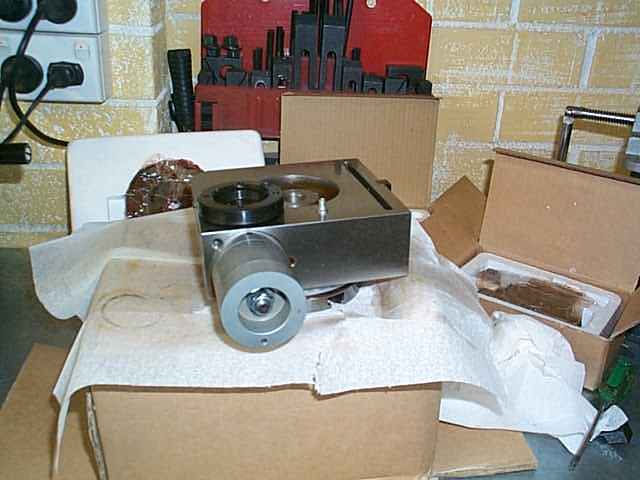
Everything was well wrapped in plastic and preserved in red grease. It could probably sustain many millions of years of mummyfication due to the grease.
|
Now how does this sucker pull to pieces?
|
|
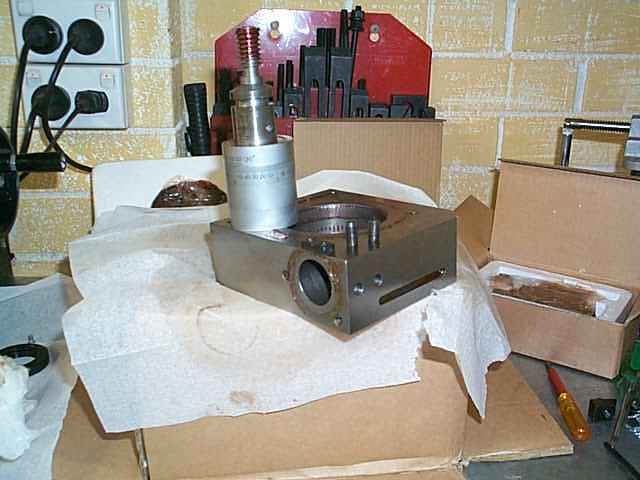
There is a screw on the bottom that locks a vlack threaded ring. Remove the screw and unscrew the ring.
|
The rotary table should now ease out of the base with very little force. Grease everywhere.
|
|
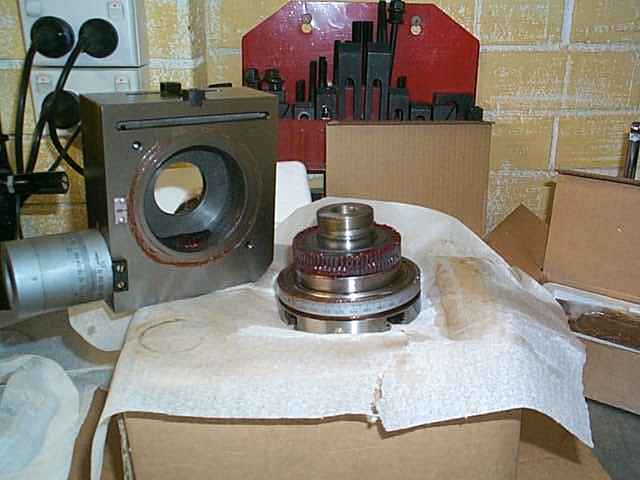
There are two grub screws that keep the vernier locked into the base. Remove them and gently twist and pull until it is free.
|
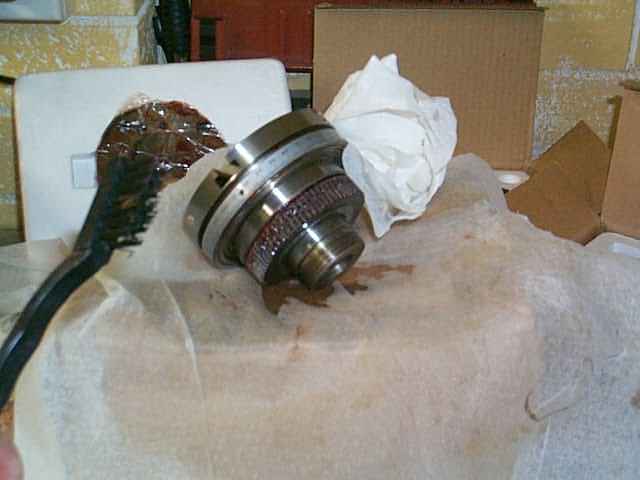
The grease is hard to remove from the rotary table’s gear teeth. I opted for a brush with plastic bristles. Wear eye protection to avoid red grease eye!
|
|
The dividing plate is tricky. There are many holes and they are all full of grease. Patience is a neccessity.
|

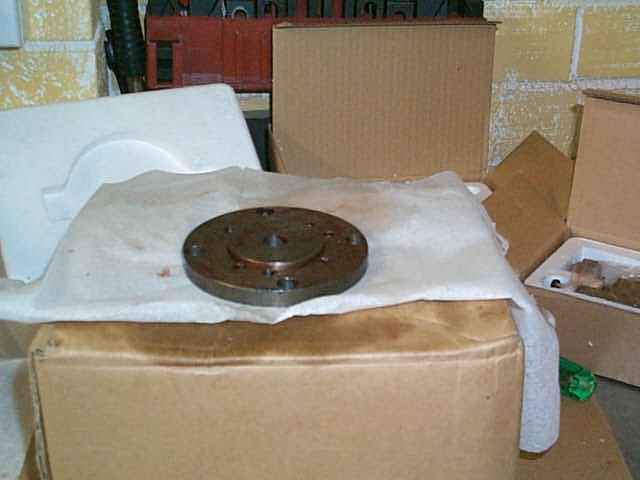
Look at all those clean and shiny components. It is a real treat to run a clean workshop.
|
|
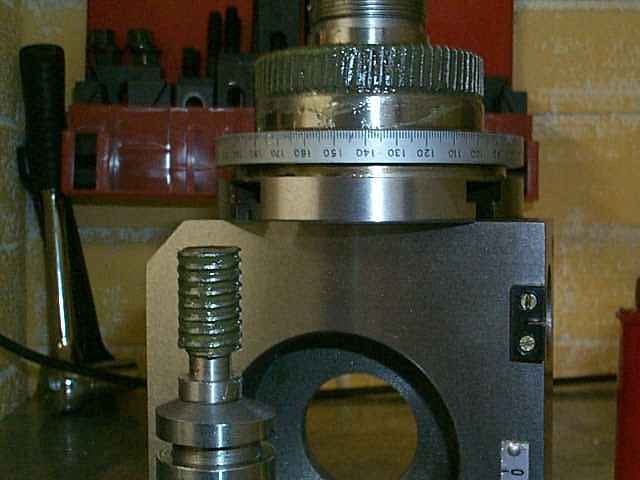
Here is a shot of the gears re greased with BP lithium grease, same as the mill. Not red but green.
|
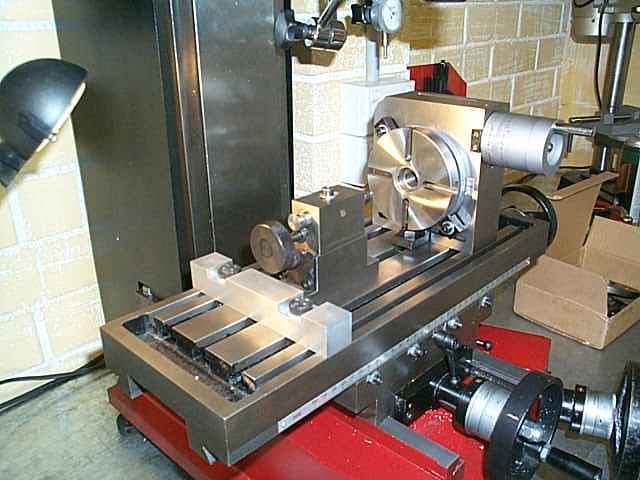
Anybody getting turned on yet?. Shiny = Sexy!! I have stuck it on to see how it fits.
|
|
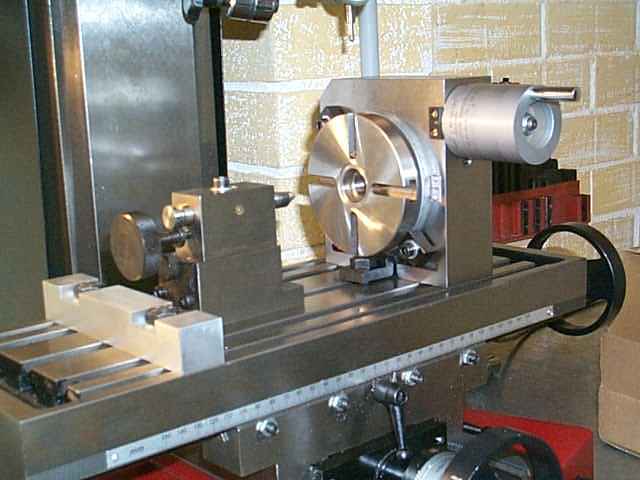
Different angle.
|
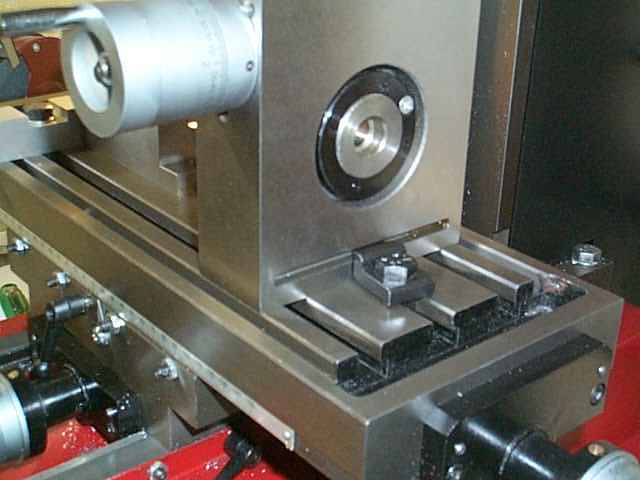
The clamp on the rear. See the black ring with a screw in it, that’s what I spoke of earlier.
|
|
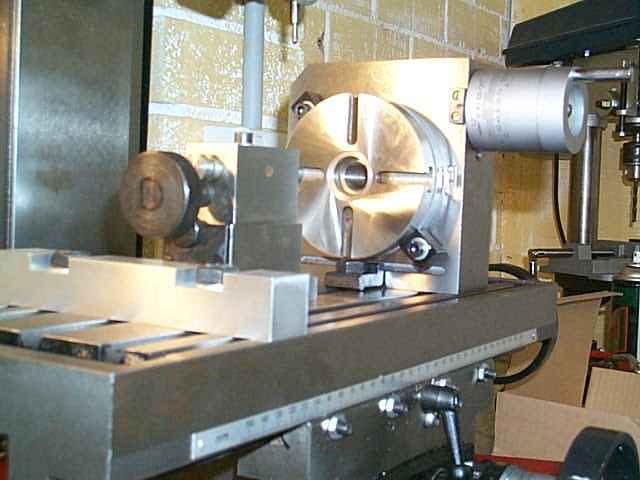
And yet another angle.
|
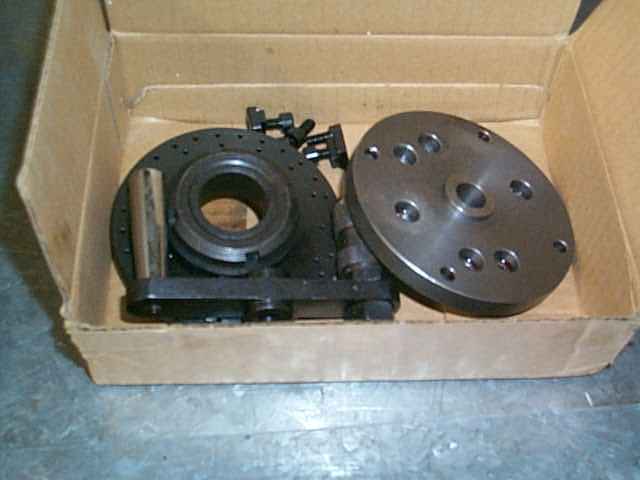
Leftovers? No, this is the rest of the stuff, indexing plate and T-Nuts, bolts etc.
|